HS101: A high quality, and Cheap DIY Oscilloscope
- Emmanuel Odunlade
- https://twitter.com/emmaodunlade
- emmaodunlade@gmail.com
- 70.584 Views
- moderate
- Tested
One of the most interesting thing about being a maker is you never get tool-stranded, with the right components, makers tend to have the ability to build makeshift tools on the go. Today, we will take a look on how to build a cheap version of one of the most important tools for any electronics engineer or maker; The Oscilloscope.
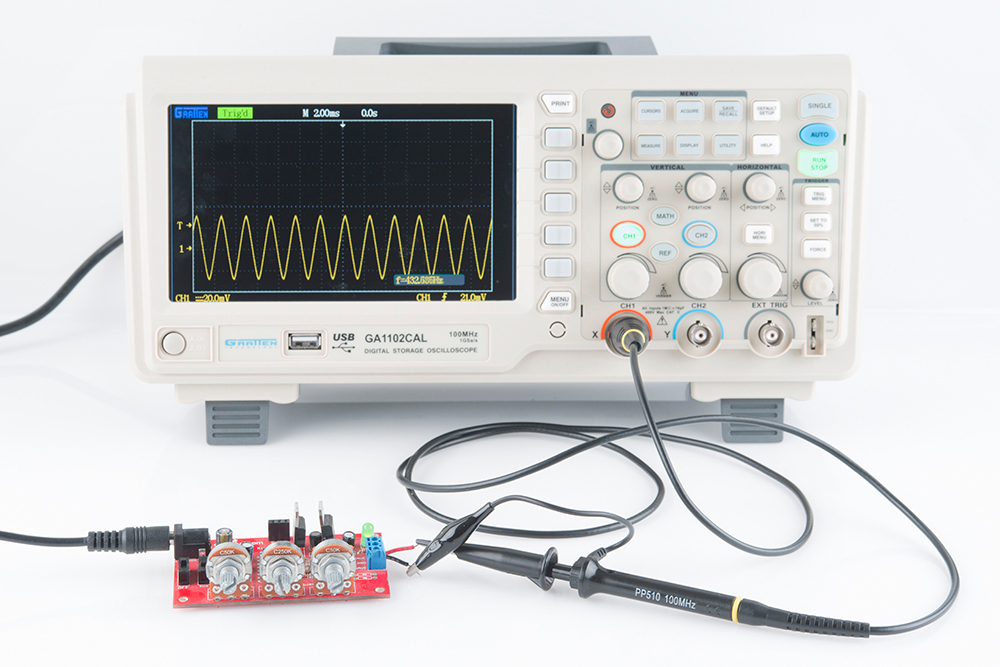
The Oscilloscope is a test instrument used for the visualization and observation of varying signal voltages, usually as a two-dimensional plot with one or more signals plotted against time. They are used in the design and debugging of electronic devices to view and compare waveforms, determine voltage levels, frequency, noise and other parameters of signals applied at its input as it changes with time. This makes Oscilloscopes a very important tool on the desk of an electronics engineer or maker. However, Oscilloscopes are quite expensive, they cost between $45 – $100 for a small oscilloscope and above $300 for advanced oscilloscopes, which puts them beyond the reach of basic users. But what if we could create something cheaper, compact, and highly functional using the components familiar to makers? That is the question that led to today’s tutorial.
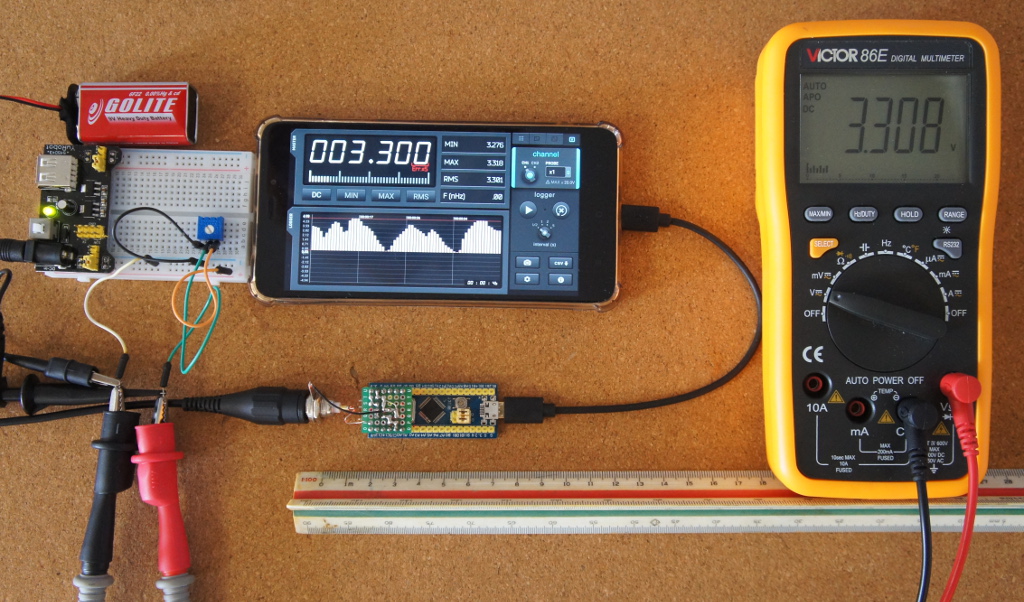
For today’s tutorial, we will build the HS101 Oscilloscope. The HS101 Oscilloscope setup comprises of the HS101 portable and compact DIY oscilloscope, connected to an Android-based mobile phone or tablet running the HScope app. The oscilloscope is based on the STM32F103 microcontroller which has 2 fast, 12-bits ADC and it samples the signal to be examined (after it has passed condition elements, like a network of resistors capacitors and diodes) on board.
Some of the features of the HS101 includes;
- Single Channel Oscilloscope
- 12 Bits ADC resolution
- 0-20v Input voltage range
- Sampling rates between 3KS/s – 1800KS/s
- Bandwidth 200kHz
- Up to 100KSa/s continuous acquisition
- Input noise depends on the sampling rate. < 15mV for sampling rate <=100KSa/s
The oscilloscope can be used in standard situations for tasks like DC measurements while also being useful for long period voltage logging and basic automobile checkups like;
- Battery level logging
- Battery Ignition Off Draw (IOD) data logging (with C650-like amp clamp or a DIY tool)
- Alternator AC ripple level (example here)
- In-Cylinder Compression Test (with 100 PSIG pressure sensor, example here
Required Components
The following components are required to build this project;
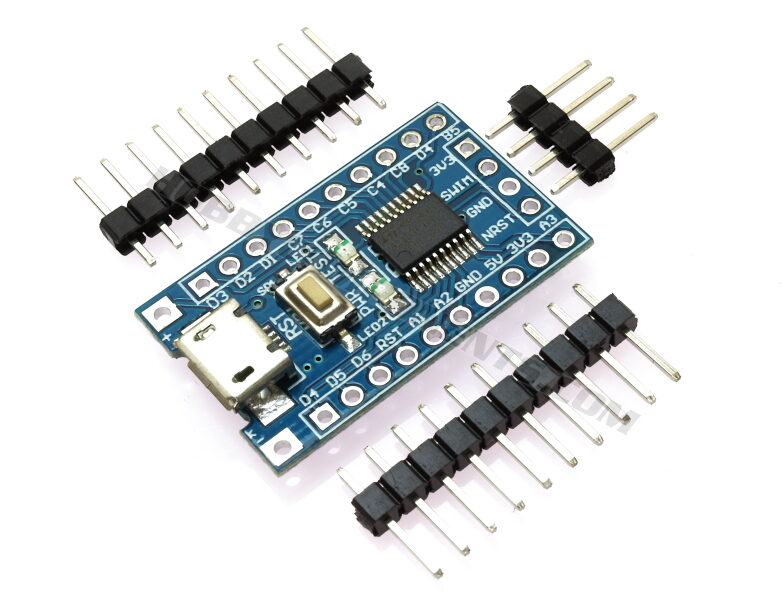
- STM32F103C8 Blue Pill
- USB to TTL Cable
- 1N4007 (2)
- 10K Resistor
- 2k Resistor
- 470pF Capacitor
- USB OTG Cable (Micro USB to Micro USB / USB Type-C to Micro USB)
- Perforated PCB Boards (anything with 6 to 7 holes should do it).
- 6 Pin single row female 2.54mm pin header (2)
- Probe and BNC Connector (plain wires or a 3.5mm audio jack can be also be used)
You could also decide to make a Printed circuit board for this project. The BOM, Schematics and the PCB design are attached under the download section of this tutorial.
Schematics
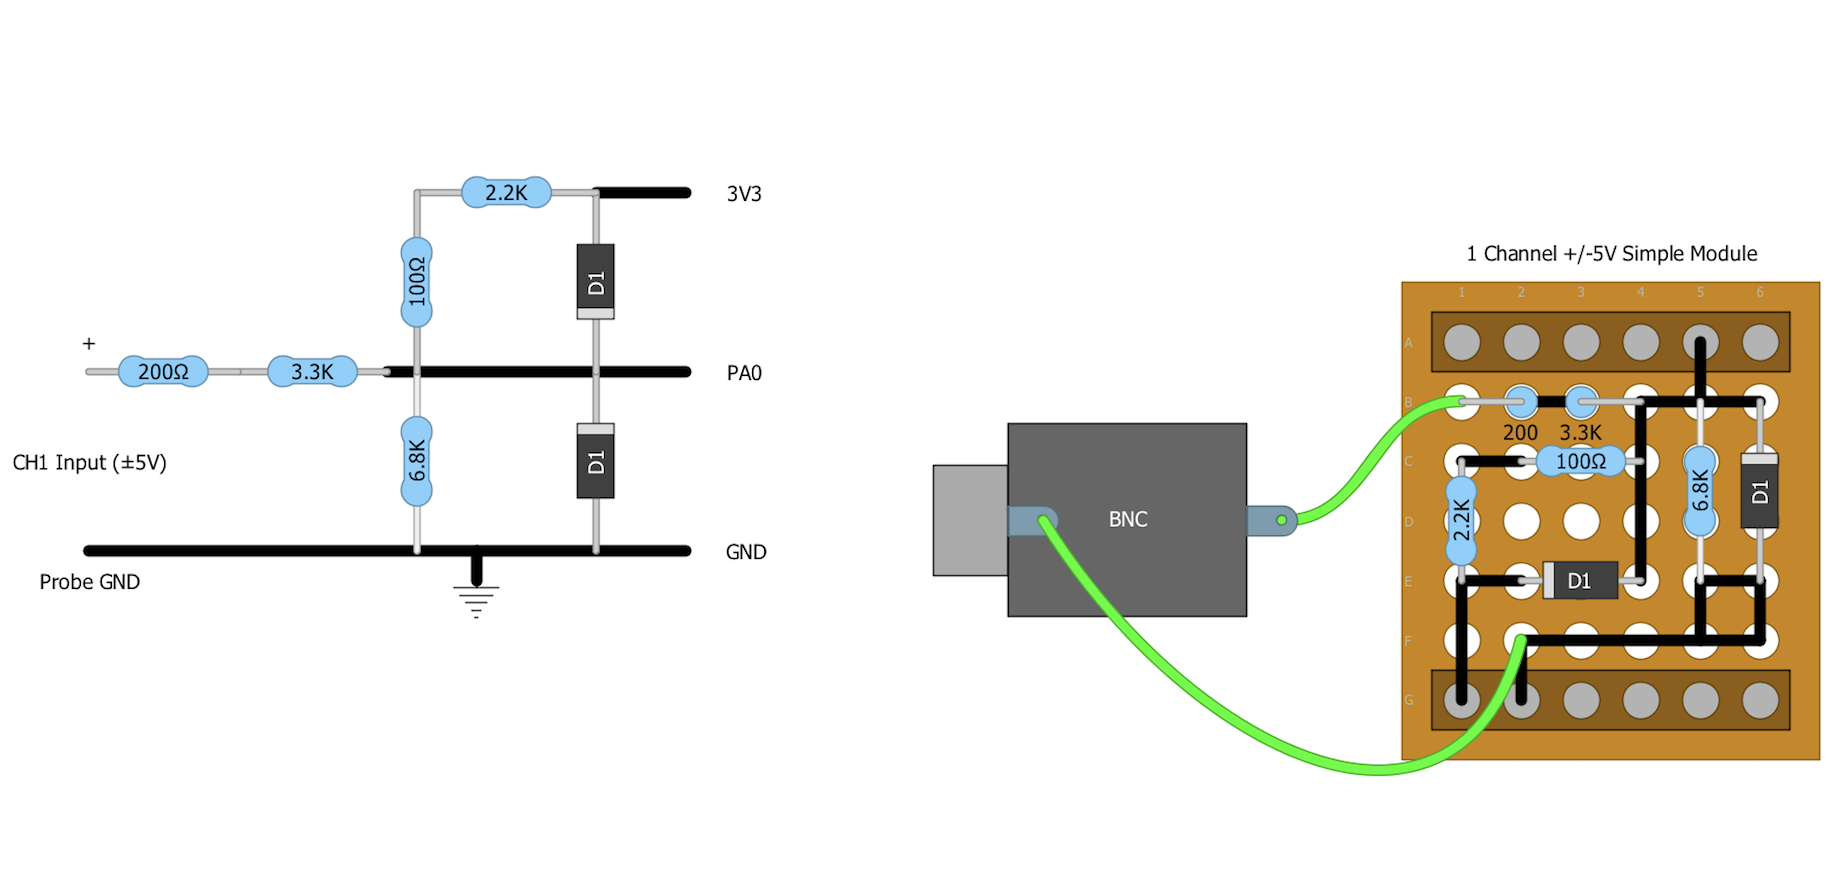
The schematics for this project is unbelievably easy. The Input module comprising of the resistors, capacitors, and diodes is built/soldered on the perforated (proto) board and then mounted on the STM Blue Phil board using the female headers which plug directly into the Blue Phil. This makes the design modular and compact. Connect the components on the protoboard as shown in the schematics below.
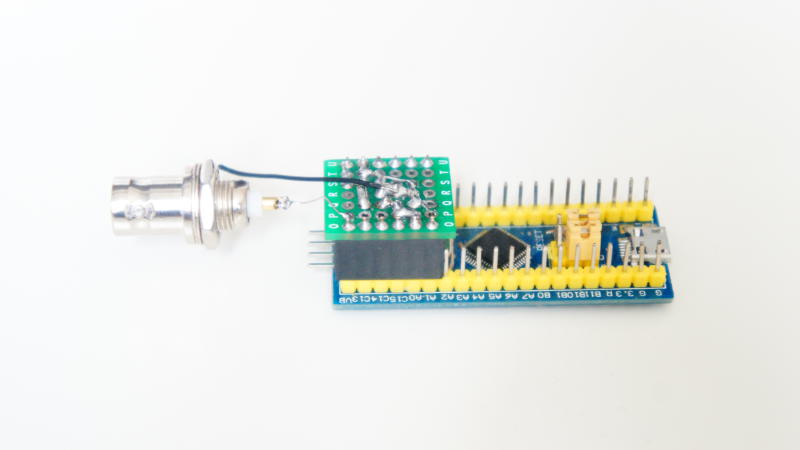
After soldering the parts, plug the input module on the STM Blue pill as shown in the image below.
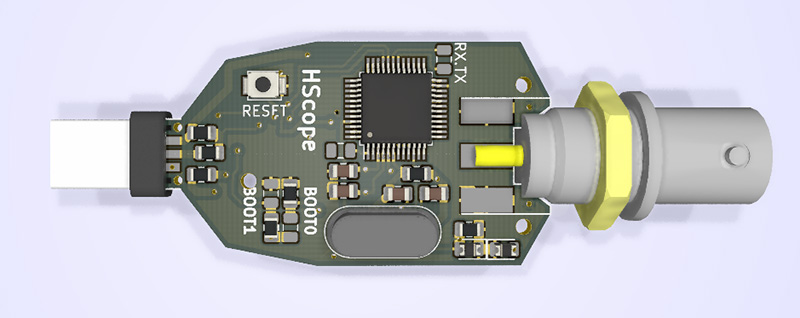
As mentioned above, you could make your own fully customized PCB-based Oscilloscope using the same design for this project. All the files you need including BOM and the PCB are attached under the download section at the end of the tutorial. An image of the PCB version is shown below.
Flashing the Firmware
One of the cool things about today’s project is the fact that we will be uploading code to the microcontroller board using a smartphone, which means you don’t need your computer for any part of this project. For today’s tutorial, we will use the STM32 Utils App by Martin Loren. The app comes preloaded with the firmware for the HS101 oscilloscope, so all we need do is to connect the Blue pill microcontroller to your phone via a USB to Serial converter and an OTG cable as shown in the image below.
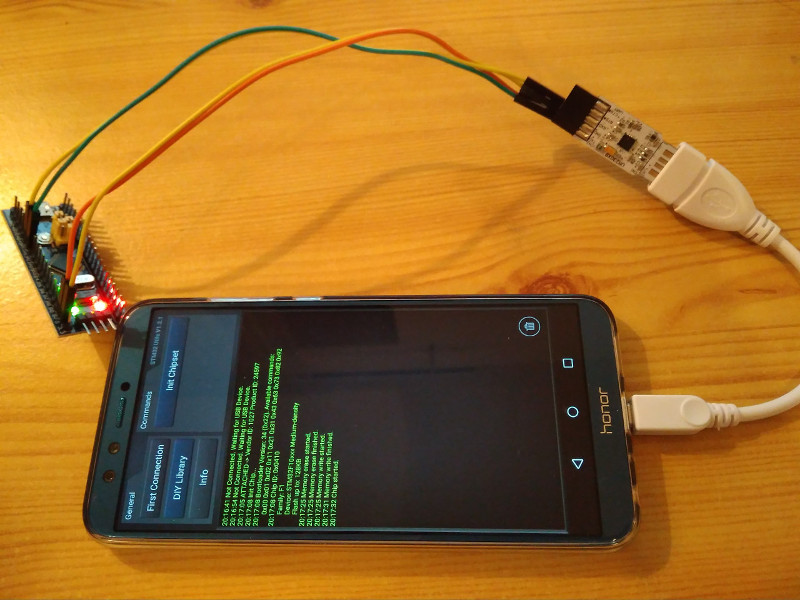
The pin map for the connection of the serial to USB cable and the STM32 Blue pill is shown below;
Blue Pill – USB-UART
5V - 5V(or VBus)
PA9 - Rx
PA10 - TX
GND - GND
with the connections done, press the “Init Chipset” button on the app. You should see the light on the STM come up. Click the “DIY Library” button on the app, select the HS101 Firmware, and click on “Flash Firmware“.
With the firmware upload complete, you can then disconnect the USB to Serial cable and connect the board to the phone via the OTG cable.
That’s it, your oscilloscope is ready!
Demo
The STM32 is powered by the smartphone via the OTG cable. As soon as it is connected to the phone, the red led of the Blue Pill board should come on. As soon as the STM32 is on, open the HScope app. The app should automatically recognize the oscilloscope and start displaying data.
Connect any signal to the input of the HS101 and you should see the data displayed on the app as shown below.

The free-version of HScope app allows using the HS101 as voltage tester and as a simple oscilloscope which might be enough for simple tasks. The full version of the HScope app, on the other hand, provides access to real-time statistics, FFT and could be used to convert the HS101 to a data logger.
Optimizing the Oscilloscope
Noise is the biggest challenge of the HS101 oscilloscope. It is strongly dependent on the phone model and this can be fairly overcome by adding capacitors between GND and 3.3V pins on the Blue Pill board. The value of the capacitor closest to the USB connector can be around 470uF for improvement in data quality.
The Oscilloscope described by this tutorial might not necessarily be capable of replacing the standard Lab Oscilloscope, but this would help you get some of the little tasks done fast, without having to pay huge sums. It is also portable which makes it useful if you move around a lot.
That’s it for today’s tutorial guys. Feel to reach out to me via the comment section if you have any questions or difficulty while replicating the tutorial.
Sources:


.png)


Nice project but one of the diode is on the wrong side ( right scheme)
Yes, good note. It seems upper protection diode D1 is backwards on schematic.
Thanks will update it!
A nice man))) good work TnX…
Thanks, I will keep you posted for next updates
need prototype oscilloscope STM32F103 +TDA8708
can bus obd2 would be awesome
can you use other STM32 to do this (other than the blue pill)?